Tuesday 31 May 2016

Me again!

Hello

I am sorry I have missed a few weeks of blogging.  I've had a very busy time.  My daughter and son-in-law invited me to go with them as a surprise to Norfolk.  It was a brilliant cabin and beautifully done.  It would sleep 10 people and it also had a tree house and a Jacuzzi.

We took it in turns to sleep in the tree house which was just at the end of the cabin.  Completely independent from the cabin and self contained.  It looked out into the woods and was as if you actually in the trees.

The weather was ideal - a bit cloudy but not too hot.  Occasional showers but not enough to spoil our outings.


This is us at the dining table.  There was only six of us so we had plenty of room.


On the first full day we decided to go to the nearby zoo.  We didn't think it would be very large, but in fact we were very surprised at the number of animals they had.  We were there all day.  


As we walked through into the zoo itself we came across this on the wall.  It was such a good idea.  Crayons were supplied and everyone could doodle or colour in whatever they wanted.  Afterwards the board could just be wiped clean ready for the next family.
  

Then on the other side were these three camels, all decorated up.    


I've seen the numerous  painted cows all over the country but never camels.

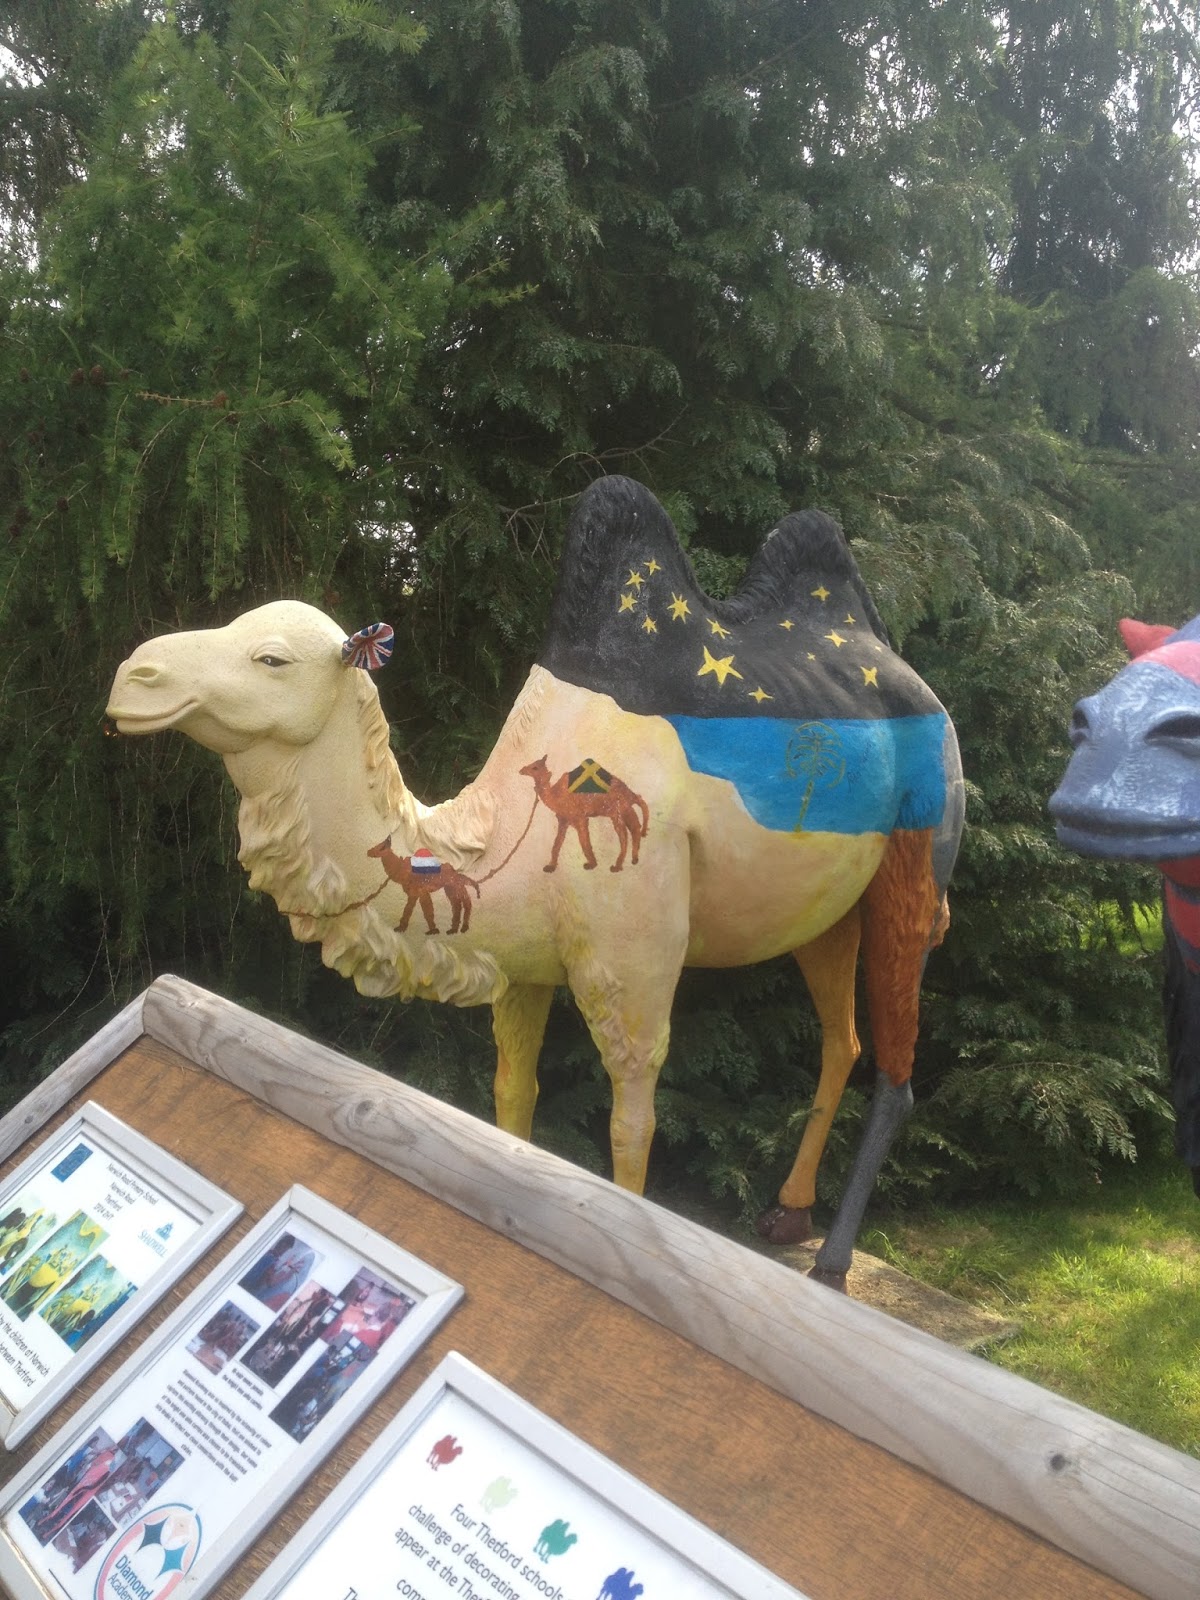
They were very unusual.


We were in time to see the feeding of the penguins.  It was very cleverly laid out in that we could see right down onto them as they toddled along under the bridge we could all stand on.

The next stop was the butterfly house.  There were quite a few butterflies. but the flowers were absolutely stunning.  I think this was was the Bird in Paradise flower, but I'm not sure.  They were so striking though.


Then we saw the Snow Leopard - at first he was camouflaged so well he was hard to see but he looks so relaxed and cuddly (not!) !


The next day we decided to go 'geo-caching'.  Something none of us had done before.  We found it great fun, and very clever.  We found all the items, deciphered all the clues and our reward was free hot chocolates, coffee etc!  Very yummy.


Behind the cabin there were lots of fallen trees and bracken, just waiting for us to build a camp.  Such a lot of fun and mucky enough to please the children.  


Then back to the cabin for tea and a soak in the jacuzzi!  Absolute bliss. 

For some reason I can't import any more pictures to this page, so I shall start another one with the rest of my pictures - not too many, I promise! 

Thank you for looking.

Liz x


Monday 16 May 2016

Tool apron card for men

Hello

I thought I'd show you another men's card I made using Crafters Companion Sara's Just for Men dies.  I can't take any credit for it though - Sara demonstrated this on her blog.


It was very simple to make, following her instructions. I used paper from my own stash and matted and layered it onto a white A5 card.


I cut the collar, straps and apron template from more white card, inked the edges and drew faux stitching around the edges.  I used some brads to attach the straps to the apron front, making it look more authentic.  They are then stuck onto the card using flat glue.


The tools were die cut using the Just for Men dies from silver and blue card, cut out the pocket from matching paper and then popped the tools on as shown in the picture.  The pocket was attached using Collall decoupage glue.  The sentiment was also from Sara's Just for Men dies.

I am so pleased with the end result and I think I shall be making a few for my handy sons!! 

Thank you for looking.

Liz x

Thursday 12 May 2016

Birthday caterpillar card

Hi

Today I thought I'd show you a birthday card for my grandson in Australia.  My inspiration was an article published in Issue 10 CC Crafter's Inspiration magazine, made by my clever friend Sandra Dry.


I used embossed some Kraft card with a CC folder and then inked the edges and brushed the ink over the pattern to emphases it.


I used the free gift multi-sized hexagon die from the magazine and cut out some blue card and then the smaller sized die on some pattern paper, which I think was another freebie paper from somewhere!!  I inked them up and then glued one on top of the other, stamping the letters on and then colouring them in blue using Spectrum Noir pens.  

I cut some even smaller hexagons from Kraft and blue cards, inked them up and stamped a pattern using the free stamps which also came with the magazine.  I then added the number four to the largest one and glittered it using the Aqua glitter pens, glueing all of them wherever you want them, using the Collall glue to raise them up. 


The embossing folder was not big enough to cover the card in one go, so I did it twice and covered the join with some ribbon I had in my stash.  I was so pleased I had just enough scrap of ribbon which was the right colour of blue and brown.  This was all I had and it fitted perfectly!

I attached the card onto the base of a 7 x 5 Kraft card so the ribbon ends were hidden.  Then position the letter tiles where you want them, using Collall decoupage glue to raise them up slightly.


I used the Happy Birthday die from Sara's Just for Men and cut two, one in Kraft card and one in blue.  I then glued one on top of the other, slightly off-setting them so it looked like a shadow, using flat glue.


I inked the face and 'antlers' with black ink and there you have it.  a birthday caterpillar.  I hope Joel likes it.

Thank you for looking.

Liz x

Saturday 7 May 2016

Groovi parchment baby card

Hello again

I've been fascinated watching Barbara Gray and her 'parching' cards, using her Clarity Groovi system.  I have always loved the Clarity stamps and I've made several cards using them.  However parchment itself is very time consuming and you need to be exceedingly accurate.  I am neither patient nor accurate so Clarity's Groovi system was perfect for me.  I bought the Groovi starter kit which came with some plates.  I had quite a few practices, all of which started off well but I usually made some errors, like being too heavy handed, splitting the parchment, putting the pricking on the wrong side, using water to colour in and warping the parchment etc etc.  However I did learn from my mistakes!  Anyway I persevered and finally made a sheet of parchment that looked reasonably decent.


I had an occasion to make a baby boy card earlier on last week and coincidentally Clarity had brought out some baby plates earlier last month.  I watched some of the demonstrations on Hochanda and thought I'd like to have a go with this, so sent off for the baby plates from Crafters Companion. 


I can't take credit for the design of this card.  I used one of the Hochanda demonstrations for the inspiration, but had to adapt it slightly as I didn't have all the plates they used.


 I loved the little feet, bottle and dummy and they came out rather well, I thought.  You have to work from the back of the parchment (which I found out to my cost!).   Once you've drawn the pattern, which is already engraved onto the plate, making it much easier and more accurate, you then can colour it and also use some 'white work' to emphasise different aspects of the plate.

I added the hearts myself and glittered them from the front and also added the words 'Baby Boy'.

As you probably know parchment paper is notorious for being difficult to fix on to card as the glue or sticky tape will show.  Clarity have come up with a solution which is a punch which makes slots in the card to insert the parchment paper into.   I haven't quite got the hang of it as the parchment in this card is a bit lumpy bumpy but I think its not too bad.

Hope you like it.  Thank you for looking.

Liz x

Wednesday 4 May 2016

Another card for men


Hi there

Here's another men's card using Crafters Companion 'Just for Men' range of dies and embossing folders.

I showed this card to a friend of mine and she has asked me to make one for her.  She is  going to America and whilst there it will be the birthday of the son of her friend.  She doesn't  know his interests or hobbies so she wants something masculine.  This seems to fit the bill. 


I made the card with black card stock   Using the Clocks embossing folder I embossed some Centura card and also some black card.  I cut out parts of the clocks from the black card and put silver gilding wax onto it.  I then placed them on top of the embossed clocks. 


Another of the Just for Men dies is a set of cog wheels in different sizes and shapes so I cut various out onto black card and also onto silver mirri.

i also used the Happy Birthday die and cut it in the black card.


I placed the cogs on to the centura embossed card and the sentiment too.  I put a couple of cogs on top of the other, just to make a different shape.

I thought this card could be used both for a man or anyone who is interested in 'steam punk'.

Thank you for looking.

Liz x

Sunday 1 May 2016

Card for men

Hello everyone

Today I thought I'd show a card using my new dies I've bought from Crafters Companion.  I fell in love with them when I first saw them being demonstrated on Hochanda as I could think of so many different variations I could make.  Men are so difficult to make for, aren't they? So again, using Crafters Companion blog as inspiration, I followed Sara's instructions.


I started off taking 2 pieces of black card and using a Crafters Companion wood grain embossing folder and Sara's Just for Men Clocks embossing folder embossed them both. I used silver and copper gilding wax and gently rubbed over the embossed clocks and also the wood grain. The wax makes the embossing really stand out and shows the folders to their best.
  

Taking some copper coloured and silver mirri board I cut out the tool set from the Just for Men collection.  These are really clever and cut all the different parts separately (except for the spanner) so you can make them in various different colour ways.


Using the Happy Birthday embossing folder which has sentiments all over it I embossed the black card and cut out the words I wanted and put gilding wax over them.  

I mounted a black card with matching copper mirri board then put the embossed cards on.  Where the join was I put ribbon on to hide it, but I forgot to put the ribbon on before I matted it onto the mirri!  Next time I'll make sure I do!  I placed the tools where I wanted them and mounted the sentiments onto silver mirri and placed them over the tools, using Collall Glue.

For the insert I used a pale orange (it looks a bit brighter than it actually is!) and used the sentiment die from the Just for Men package.


Because I could I popped the screwdriver on the opposite page of the insert.

I love this set and shall definitely be using them again.

Thank you for looking.

Liz x